

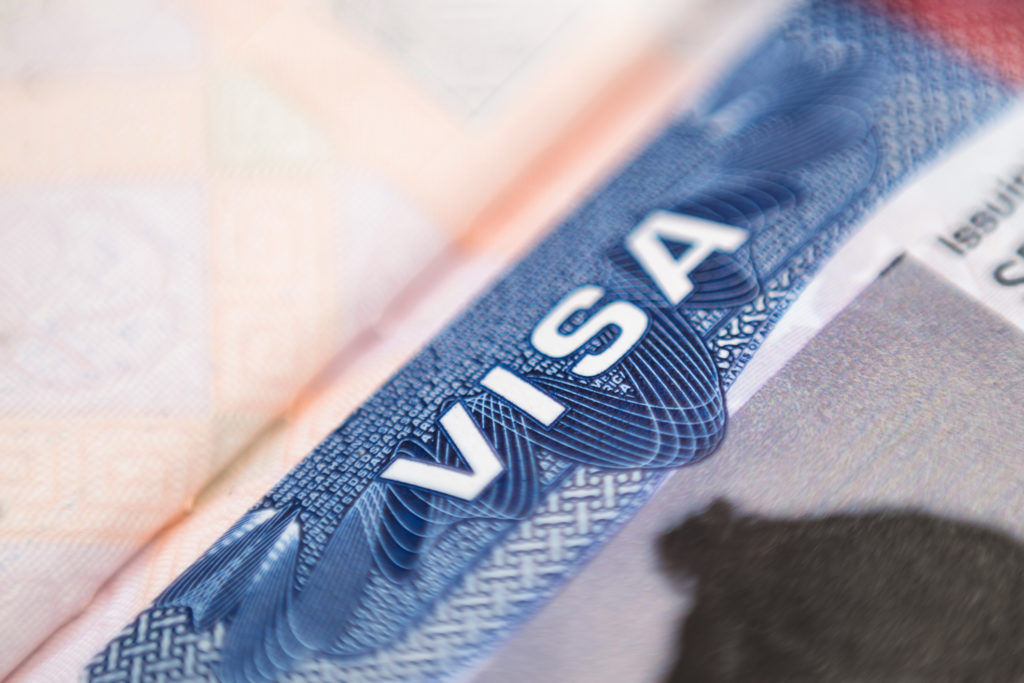
Applying for a US visa might sound as daunting as crossing the Death Valley in the summer heat, but don’t let it put you off.
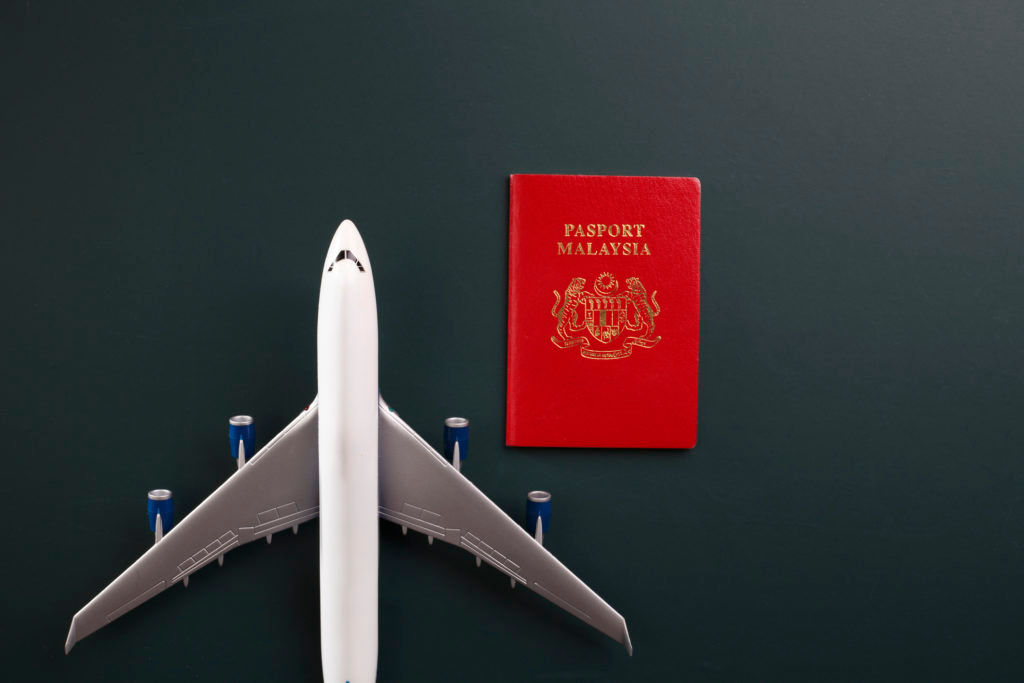
The Malaysian passport is a powerful tool, an apparatus allowing millions of Malaysians to traverse continents. Its universality ranks among the best in the world. Insofar, according to Henley Passport Index, the red hardcover credential places 13th in 2021, granting citizens visa-free access into 179 countries and territories globally.
For Malaysians, courtesy of cordial bilateral relationships with our neighbours, we can enter and stay for a month in numerous other Southeast Asian countries, such as Thailand, Indonesia, Singapore and Vietnam. This is a hassle-free privilege not many get to enjoy.
In the labyrinthine world of diplomacy, national security and global trade, such welcoming espousal is not often reciprocal. For example, US citizens can enter Malaysia on tourism or business as part of the condition in the visa-waiver programme, staying up to 90 days. Malaysians, however, are required to apply for visa prior to any visit to the US, except for predetermined territories such as Guam, where in lieu of visa, the completion of Form I-736 is enforced. So then, where do we begin the formal application process?

How to apply for a US visa for Malaysian travellers for the first time:
Step 1: Photo
First things first, if you know what a passport photo looks like, this is very much in the same vein. Ensure your photo is legible and meets the stringent requirement. Criteria include recentness, a stoic facial expression, the forbidden of accessories such as eyewear and earphones and an austere white background.
Better yet, feed the photo to the dedicated programme created by the US government for appraisal here
Step 2: Type of visa
There are several forms for varied purposes. As a tourist, you should be opting for a B-1/B-2 visitor visa.
You must demonstrate that the purpose of your trip to the US is for a temporary visit, that you plan to remain in the US for a specific period, the ability to pay for your expenses and a residence outside the US.
For more info, click here
Step 3: Application
Here’s where fun/paperwork begins. Since you have opted for a B-1/B-2 visitor visa, you are required to complete the DS-160 form. Select the location where you are applying (Malaysia) and insert the security code shown in the box underneath, thereafter, you may begin the formal application process.
Click here to start applying
The following page will reveal your unique application ID, it is pivotal to save this information, as well as the answer to the security question you choose, so you can retrieve your application in the future. Otherwise, you have to start another new application.
From here, you are required to provide personal information, including your own, and of your family; education, travel and employment history; and social media presence. However, there is a time limit imposed on each page, so it is highly likely you will be ejected automatically while you are still recalling your memories.
Tips: Compose it in a Word document, so you may paste the mandatory information, saving yourself the trouble of having to type it out all over again.
In the event you are logged out, you may resume by retrieving the form using the application ID and the corresponding security question.
Ensure all information provided is accurate. Upload the photo, sign the DS-160 form electronically and submit. No amendment is allowed once it is submitted. You have to start anew if any error is made.
Step 4: Securing an appointment, part 1
Completing the DS-160 form gets you closer to the door, but not at the door. You are required to schedule an appointment at the US Embassy for an in-person interview.
To apply, click here to create a profile
Upon logging in, select new application/schedule appointment, click non-immigrant visa, choose business/tourism and B1/B2, thereafter complete your personal information and enter your unique DS-160 confirmation (application) number.
You will be prompted to choose either to collect your passport provided your visa application is approved at the courier office or be delivered to you.
On the same payment page, prior to making payment, you will encounter a box stating “Receipt Number”. More on that below.
Step 5: Pay
A one-time US$160 non-refundable processing fee is imposed. There are 3 ways you can make the mandatory payment – at a bank branch, electronic transfer to Bank of America Malaysia, and JomPay. The last is the easiest. Card payment isn’t acceptable. Ensure you have a sufficient amount in your bank account to make the payment via JomPay. Never attempt to make a second payment.
Thereafter, save the receipt and schedule your appointment using “Ref-1” as the “Receipt Number”.
Step 6: Securing an appointment, part 2
By now you are led to in situ where you enter the receipt number to schedule for your visa appointment at the embassy. The next available slot could be a month or two from the date of application. You can change your appointment date meanwhile, but it is restricted to a number of times. Therefore choose wisely.
In the event things go awry, such as you can’t advance after entering the receipt number, you can drop an email to support-malaysia@ustraveldocs.com with your details including the receipt number and proof of payment, as well as your concerns. Their reply comes swiftly, typically in a day or two.
Print the appointment confirmation letter relaying the all-important time and date of your appointment.
Step 7: The day of reckoning
The embassy is a 10-minute walk from the Ampang Park LRT station. If you elect to drive, you may leave your vehicle tended to by the MAPS parking system, an automated car stacker, located next to the embassy.
For the appointment at the embassy, bring along your passport, a photo (recent, full face against white background, 50mm x 50mm), the appointment confirmation letter, and a government-issued photo ID, for example: NRIC and driving licence. You may present other supporting documents.
In the event that you overlook printing out the appointment confirmation letter, you can circumvent it by showing it to the personnel facilitating your entry into the embassy on your phone. You are required to switch off your electronic devices prior to entering the compound.
Arrive 20 minutes before your appointment. Wear appropriately but don’t overdress. The embassy isn’t your gym locker. Your calf leather handbag and croc-skin messenger aren’t allowed inside the premises and won’t be stored anywhere. You will have to part with your electronic devices such as phones and smartwatches for the duration you spend in the embassy. You will be whisked inside the embassy for further processing – the interview.
After security clearance, proceed to the main building, turn left and queue at counter 1 for biometric checking. You will be issued a number. Wait for your turn to be interviewed.
During the interview, you will be queried on your purpose to the US, your existing employment in Malaysia and so on. Answer truthfully. The process is effortless and consumes only several minutes.
Step 8: Approval
You will be notified on the spot whether your application spells success. Your passport will be retained. You will be given a directive paper on how your passport will be returned to you. Once it is ready, you will receive a text message. Depending on which option you have taken, your passport can be collected in person at the courier office or be delivered to you.
You also have the option to appoint a representative to collect the passport on your behalf. You are allowed to alter the delivery option. However, it must be performed before 12pm on the day of your interview, via this link.
To self-collect, present a government-issued photo ID, for example: NRIC and driving licence, an appointment confirmation letter and a copy of the text or email.
If the representative intends to collect on your behalf, the person must furnish an original government issued photo ID, a copy of the applicant’s (in other words, your) government issued photo ID, the appointment confirmation letter, an authorised letter bearing the representative’s full name, date of birth and government ID details; the applicant’s government ID details that corroborate with the photocopy; and both signatures of the applicant and the representative.
Voila!
Tags
Written by

Justin Ng
Digital Content Director, Kuala Lumpur
Often think of myself as a journalist and so I delve deeper into a range of topics. Talk to me about current affairs, watches, travel, drinks, new experiences and more importantly, the business, economics and dynamics behind it.